
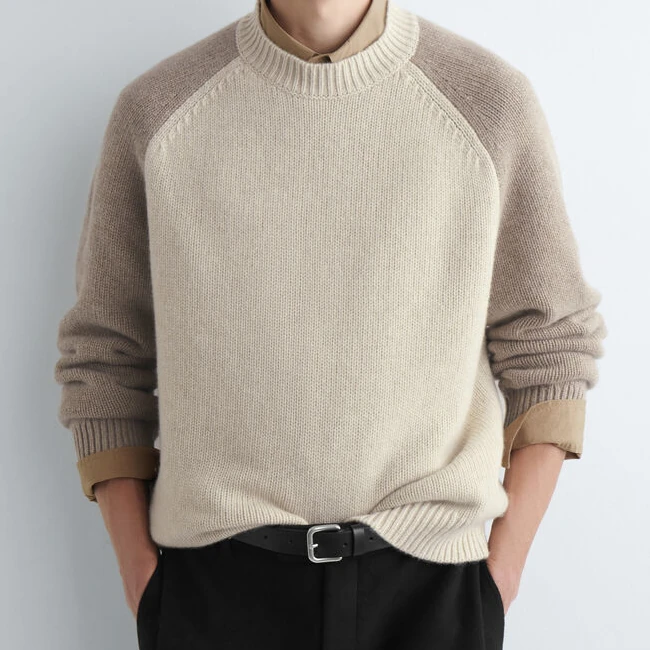
A relaxed sweater may owe its outline to a dropped shoulder, armhole room or body ease. Asking for wider sleeves does not say where volume should be added. Read shoulder lines and sleeve outlines first, then review front, side and back views and movement. A model photo provides direction, rather than measured proportions.
Set-in direction: a defined shoulder point
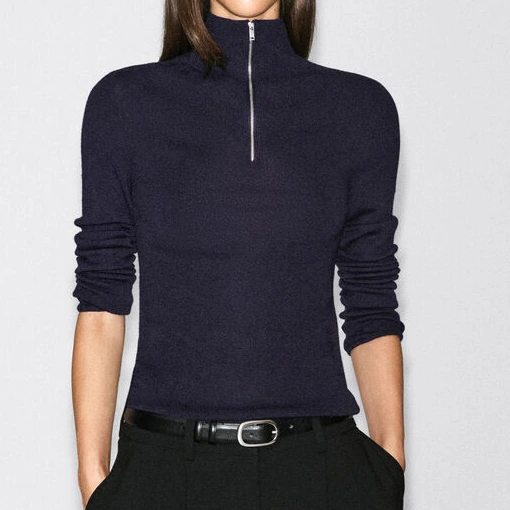
A set-in direction locates the sleeve around the natural shoulder point, giving a defined upper-body edge. This long-sleeved knit provides a shoulder-outline reference, not proof of a particular assembly method. Set the position for the target wearer and grade deliberately rather than copying the model placement into every size.
- What to check in the sample
- Review shoulder point, sleeve head, front/back armhole and upper-arm movement.
A useful way to brief the factoryKeep the shoulder line near the natural point with room for everyday movement.
USE THIS IN A STYLE BRIEFDefine the line around the shoulder point before choosing body ease. A defined shoulder can still allow movement; shoulder type alone does not specify fit.
Dropped shoulder: manage total sleeve reach
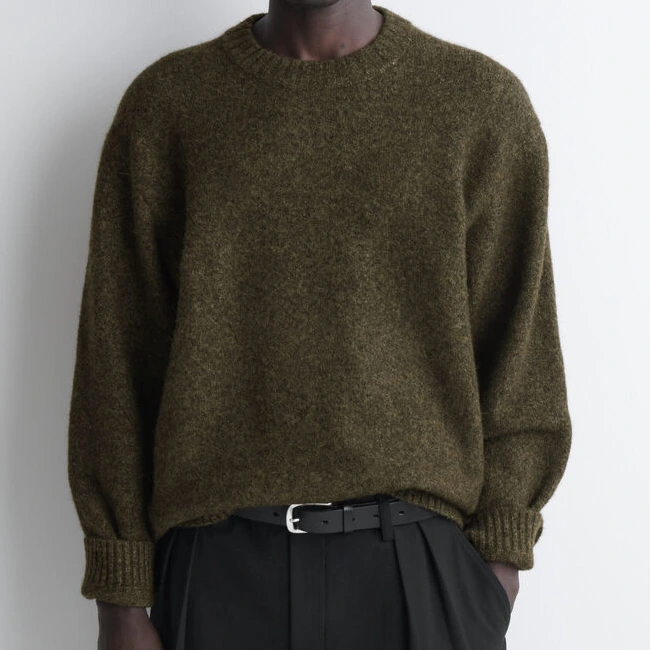
A dropped shoulder moves the sleeve arrangement beyond the natural shoulder. This dark hairy jumper combines a low shoulder with a roomy body. Extending the shoulder does not automatically require a longer sleeve segment. Review total reach from neck or shoulder to cuff so the cuffs end where intended.
- What to check in the sample
- Check join position, armhole depth, total sleeve reach and underarm bulk.
A useful way to brief the factoryKeep the relaxed dropped shoulder while placing the cuffs at the agreed point.
USE THIS IN A STYLE BRIEFWhen moving the shoulder line outwards, recheck total sleeve reach. Fit on the target wearer with the intended layer so cuff position is considered too.
Raglan: follow the diagonal line
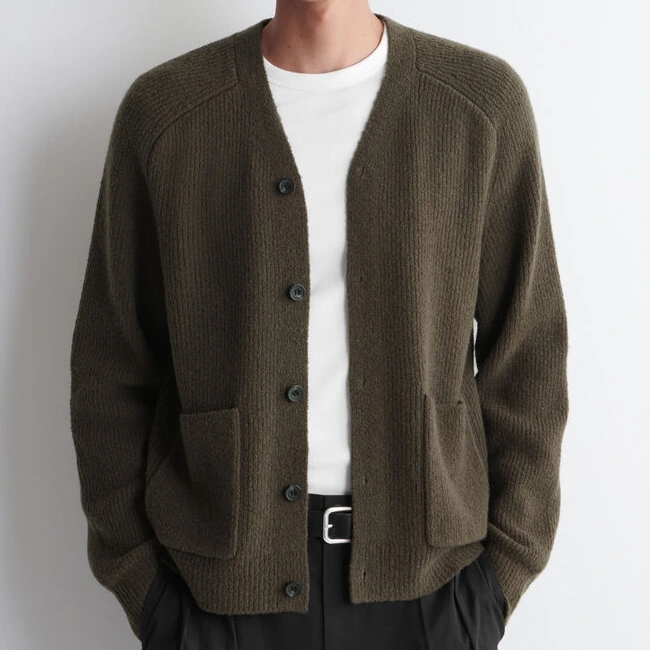
A raglan line runs diagonally from the neckline area towards the underarm; follow the diagonal lines on the upper cardigan. This changes the visual division of the shoulder without guaranteeing a particular fit. Check front and back lines, the neck junction and underarm room through lifting and reaching in the sample.
- What to check in the sample
- Check front/back raglan lengths, neck pulling and body position after lifting the arms.
A useful way to brief the factoryKeep a clear diagonal line and check that arm movement does not pull the neck back.
USE THIS IN A STYLE BRIEFMark the diagonal's start and end points and review its relationship to front, back and sleeve. Assess any movement goal through fitting the actual sample.
Batwing: control underarm volume
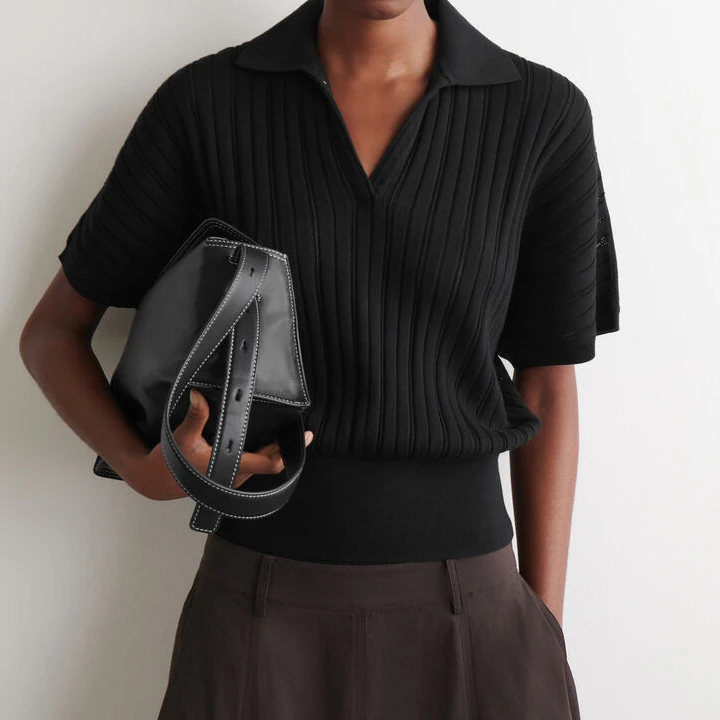
Batwing shapes carry extra room below the arm and a deeper armhole area. The source identifies batwing sleeves on this knitted polo, providing a short-sleeve reference. Specify the lowest underarm point and sleeve opening, then check body lift during movement. A roomy outline still needs controlled proportions.
- What to check in the sample
- Review underarm depth, side drape, underlayer exposure and recovery after movement.
A useful way to brief the factoryWe want a natural batwing shape without excessive fabric at the sides.
USE THIS IN A STYLE BRIEFLocate the intended underarm volume and specify the desired body length. Review the side outline with arms raised and lowered when agreeing a batwing effect.
Rounded, puff and flared sleeves: place the volume
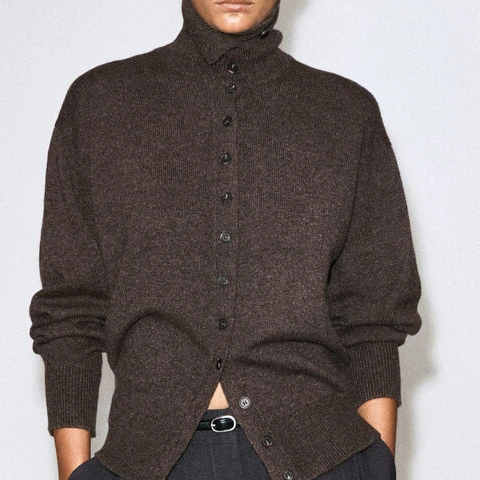
Rounded sleeves emphasise a curved outline. Puff sleeves concentrate fullness, often near the head or cuff, while flared sleeves widen towards the opening. This photo illustrates the rounded direction only. For a puff or flare brief, add a matching reference and identify the widest point, opening and length rather than relying on a style name.
- What to check in the sample
- Compare sleeve head, upper arm, elbow and opening, including left/right consistency.
A useful way to brief the factoryPlace the rounded volume through the sleeve body and retain a controlled cuff.
USE THIS IN A STYLE BRIEFShow the widest point, where fullness narrows and the intended opening. Use a matching reference for each sleeve shape rather than one rounded-sleeve photo for all of them.
Turn the reference into a clear brief.
| Direction | Read first | Common confusion |
|---|---|---|
| Set-in | Join near shoulder point | Not automatically slim |
| Dropped | Join beyond shoulder | Balance shoulder and sleeve reach |
| Raglan | Neck-to-underarm diagonal | Not proof of assembly method |
| Batwing/rounded/flared | Underarm room and outline | Can combine with different shoulders |
Four steps for sample review
- Mark the shoulder arrangement before describing sleeve shape.
- Define shoulder, armhole, upper-arm and total sleeve measurements.
- Try lifting, reaching and bending in the sample.
- Review front, side and back before agreeing grading.
Common questions
Must dropped shoulders be oversized?
No. Shoulder position and chest ease can be adjusted separately.
Is a front photo sufficient for a sleeve brief?
Usually not. Side and back views clarify the armhole, back shoulder and sleeve volume.
How do I keep a relaxed look without overlong sleeves?
Specify shoulder position, body ease and the desired cuff position separately, with an agreed total-reach measurement. Fit the sample on the target body before deciding the adjustment.
Connect shoulder and sleeve shape to fit and movement
Shoulder and sleeve development combines proportion and movement. Add specific actions to the review instead of relying only on words such as comfortable or relaxed.
- Provide front, side and back references; mark the shoulder line, sleeve volume, cuff position and intended underlayer separately.
- Agree measuring points for shoulder, armhole, upper arm and total sleeve reach, distinguishing flat widths from circumferences.
- Check reaching, elbow bending and arm lifting in the same sample size; record strain points and the silhouette features to preserve.
Bring the shoulder shape and movement needs
Share front/side/back references, target size, layering and any strain points in an existing sample. If movement or volume is the priority, also mark the appearance you want to preserve.
Discuss shoulder and sleeve proportions ↗Technical references
Confirm construction and performance with agreed samples and appropriate testing. The following references provide further reading.
- Craft Yarn Council · Body Measurements & Fit
- Woolmark · Introduction to Knitwear
Product photographs are design references, not a claim about DALANG project work.
A customer brief: separate the shoulder and sleeve decisions
A brand described a relaxed, cropped sweater with dropped shoulders and long rounded sleeves gathering above compact cuffs. The measurements and production files still needed to be agreed. Record the target shoulder position, sleeve reach, volume and cuff behaviour separately before reviewing a sample; this is a customer requirement, not a completed production result.